Worked example: replacing depth instruments on a 10 m sailing yacht
Follow a hypothetical depth-instrument refit from diagnosis to equipment choice, depth-reference arithmetic and a recorded acceptance check.
Illustrative planning scenario, not an actual voyage or sea trial. Product details use manufacturer documentation. Sources checked 3 October 2026.
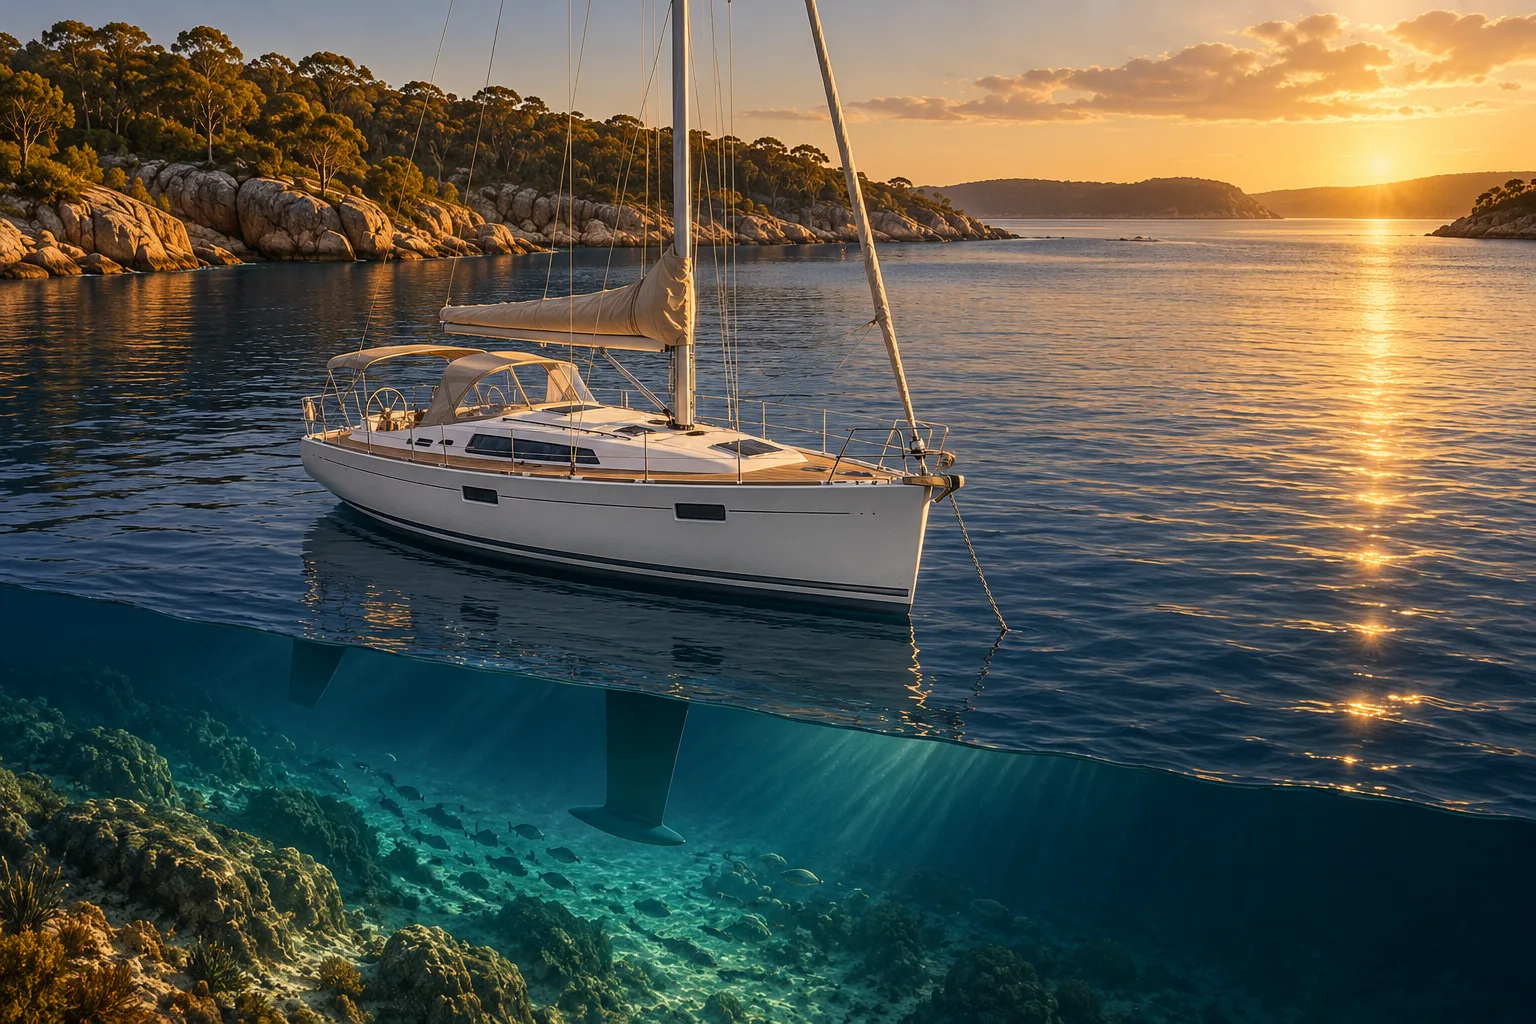
The boat: a hypothetical 10 m fibreglass cruising yacht with 1.8 m draft, an unreliable depth display and an owner who wants a clear helm readout. The owner is not asking for fishing imagery or a complete electronics replacement. All dimensions and observations in this example are invented to explain a decision process.
The first decision is whether the existing sensor and wiring are serviceable. A new display is not the first diagnostic tool. An installer should identify the old equipment and investigate power, connections and sensor performance before the owner commits to a replacement package.
#Step 1: build a small evidence sheet
| Finding to record | Illustrative result | Effect on the decision |
|---|---|---|
| Display behaviour | Intermittently blank | Check supply and connections before replacing |
| Sensor identity | Label not yet read | No compatibility claim can be made |
| Hull construction at sensor | Not yet inspected | Do not assume in-hull replacement is suitable |
| Desired output | One readable depth number | Fishing features are not the purchasing priority |
Photograph the labels and cable terminations. Record whether the old instrument drives the sensor directly or receives network data. This makes later supplier advice specific to the boat rather than a guess based on its age or brand.
#Step 2: compare two conditional plans
If inspection confirms a supported, healthy SeaTalk sensor arrangement, quote a compatible i40 replacement path. If little of the old installation can usefully be retained, quote a complete dedicated depth system such as NASA Clipper, subject to hull and sensor suitability. If the owner now wants shared network data, create a third brief instead of assuming either simple option fulfils it.
Product reference points are Raymarine i40 and NASA Clipper Depth. The one-on-one comparison separates package contents and connectivity. These references do not confirm compatibility with the unidentified sensor in this fictional boat.
#Step 3: make the depth number unambiguous
Suppose a separate check establishes 4.0 m of water, the sensor face is 0.4 m below the waterline, and draft is 1.8 m. The geometry is:
| Reference | Illustrative value |
|---|---|
| Total water depth | 4.0 m |
| Distance from sensor face to bottom | 3.6 m |
| Arithmetic clearance below keel | 2.2 m |
These are three different descriptions of the same simplified situation. They are not alarm recommendations, safe-clearance limits or instructions for a particular instrument's offset menu. Waves, loading, measurement uncertainty and movement can change practical clearance. Follow the specific instrument's reference and sign convention, then independently verify the display.
#Step 4: agree an acceptance record
The installer and owner should record the selected reference, how it was checked, the alarm setup and how lost data appears. Observe performance under appropriate representative conditions, including normal operating speeds and sailing angles where relevant. Do not repeatedly alter offsets to conceal an unexplained sensor fault.
The final quote should identify display, sensor, any interface, panel work, cable work, hull access and commissioning. No actual purchase or price is represented here. The example ends with a documented working measurement, not simply a new screen. Use the commissioning guide to integrate that record with the boat's other equipment.
Continue building the system
These guides pick up where this one stops.
Head-to-head
NASA Clipper Depth vs Raymarine i40 Depth: standalone or SeaTalk?
Compare NASA Clipper Depth and Raymarine i40 Depth for a cruising yacht, including package contents, retained sensors and the full replacement job.
Decision Compare the two options against your existing system and installation.Check first Do not assume either display accepts an unidentified old sensor.Also needed Display and confirmed compatible depth sensor Read the guideHead-to-head
Raymarine i40 vs i50 Depth: which instrument should you buy?
Compare Raymarine i40 and i50 Depth displays, SeaTalk connections and dated Australian prices. Understand display-only costs before choosing a transducer kit.
Decision Compare the two options against your existing system and installation.Check first Display-only prices exclude sensors, conversion and hull work.Also needed Display and confirmed compatible depth sensor Read the guideBuying Guides
Best depth sounders for cruising sailboats in Australia
Choose between a standalone depth sounder, a Raymarine instrument and a network multisensor. A practical shortlist for cruising yachts and refits.
Best for A readable cruising-yacht depth installationCheck first A network sensor is not a complete display systemAlso needed Confirmed sensor, instrument, interfaces and depth calibration Read the guideProjects & Installation
Commissioning and sea trials
A refit is not complete when the display turns on. Commissioning is where calibration, source selection and alarm configuration turn boxes into a system you can trust.
Read the guide AI illustration
Worked example
Worked example: electronics for a 6 m coastal fishing boat
Build a hypothetical trailer-boat shopping list, compare Eagle and Elite FS, and separate chart coverage, sonar installation and future expansion.
Best for A 6 m coastal fishing-boat planCheck first Future live sonar requires its own hardware and budgetAlso needed Exact display, transducer, Australian charts and installation Read the guide AI illustration
Worked example
Radar in action: a clear-weather training scenario
A structured, hypothetical radar practice session for a newly installed system, connecting product choice with observation, settings and useful records.
Best for A supervised clear-weather radar sessionCheck first An illustrative exercise is not a collision-manoeuvre planAlso needed Accepted installation, suitable conditions and competent supervision Read the guideReferenced by
Other guides that depend on the ideas on this page.
This guide is independent editorial information, not a substitute for official regulation. Equipment requirements, licensing and chart currency differ by jurisdiction and change over time — confirm the current position with the AMSA, the Australian Hydrographic Office, ACMA and your state or territory maritime authority before relying on it.