Worked example: electronics for a 6 m coastal fishing boat
Build a hypothetical trailer-boat shopping list, compare Eagle and Elite FS, and separate chart coverage, sonar installation and future expansion.
Illustrative planning scenario, not an actual voyage or sea trial. Product details use manufacturer documentation. Sources checked 3 October 2026.
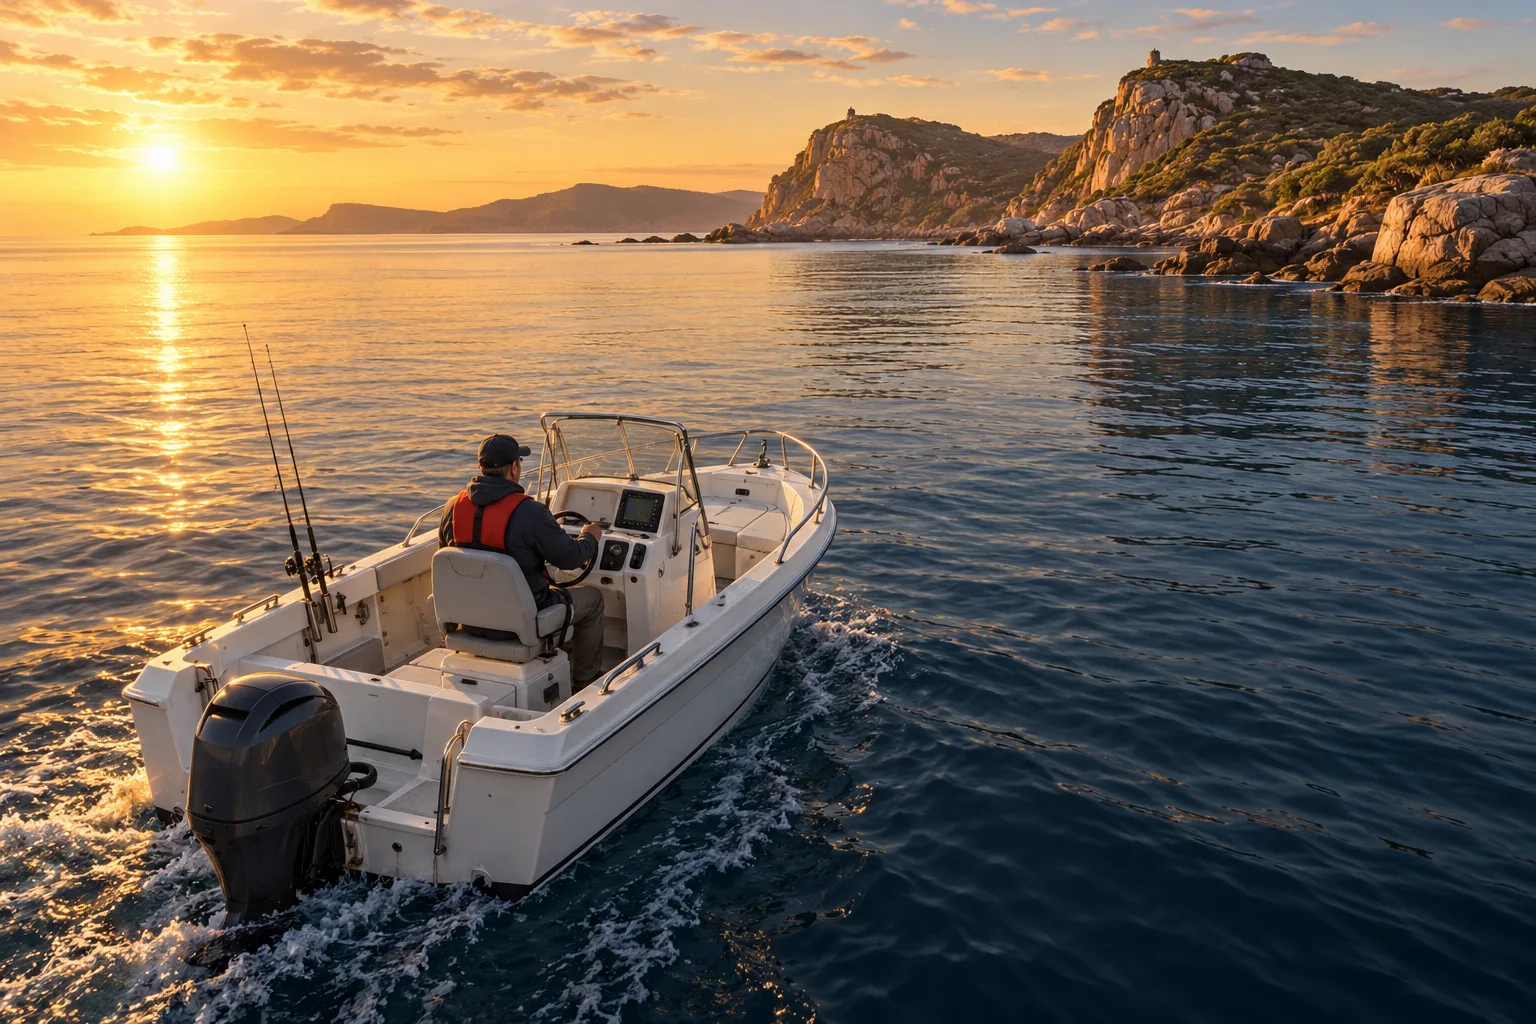
The boat: a hypothetical 6 m fibreglass trailer boat used for coastal day fishing. The owner wants one helm screen, detailed charts for the intended area and useful sonar. A live-sonar upgrade is possible next season but has not yet been justified. No actual boat, dealer quote or fishing result is represented here.
The first shopping list should define a working system now. The future list should show what an expansion would require. Keeping those two lists explicit makes it possible to compare a simpler purchase with a more expandable installation without pretending optional equipment is already included.
#Step 1: choose between two ownership plans
| Plan | Candidate to investigate | Reason | Unresolved question |
|---|---|---|---|
| One stable helm installation | Eagle 9 with suitable transducer | Straightforward single-screen brief | Will the owner actually want expansion? |
| Planned sonar expansion | Elite FS 9 with suitable transducer | Documented add-on route | What complete hardware would be required? |
Product references: Eagle 9 and Elite FS 9. The head-to-head explains the differences and package traps. The example deliberately does not claim either model is automatically compatible with an unidentified transducer already aboard.
#Step 2: prepare a quote everyone can compare
| Quote line | What must be named |
|---|---|
| Display | Exact model and mounting arrangement |
| Sonar | Exact transducer and any required module |
| Charts | Australian region, edition and any ongoing cost |
| Installation | Power, protection, cable routing and mounts |
| Commissioning | Coverage checks and representative operating checks |
| Future upgrade | Separate hardware, mounting and installation estimate |
A worldwide basemap in a regional bundle is not enough information to approve the chart purchase. Ask the supplier to show the intended local coverage. Similarly, “live-sonar ready” belongs in the expansion plan until the additional equipment has been selected and priced.
#Step 3: inspect the transducer location
Have the installer assess hull features, trailer clearance, water flow and practical cable access. The aim is a mounting arrangement suitable for the selected sensor and boat, not simply the shortest route to the screen. The sensor-siting guide gives the broader planning framework.
Suppose the completed installation shows bottom while stationary but loses it consistently as speed increases. That invented observation is a reason to investigate installation and operating conditions. It does not prove the display is inadequate or that a higher-priced transducer will fix the issue. Record the conditions so the installer has something reproducible to assess.
#Step 4: practise a repeatable screen workflow
In appropriate conditions, learn how to mark a waypoint, return to the chart, change sonar range and restore the normal split view. Keep someone responsible for navigation and lookout; learning menus should not displace attention to the boat's surroundings. Use the same workflow in a shop demonstration before buying if possible.
An example acceptance record can say: local charts confirmed, intended sonar views available, power cycling checked, mounting secure and any speed-related issues logged. It should not say “catches more fish” or “perfect in all conditions” without evidence.
Choose the simpler plan if it meets the owner's stable needs. Choose the expansion route when the future equipment has a concrete purpose and a complete budget. The ranked trailer-boat shortlist adds a Humminbird alternative for owners whose motor and wider system change the brief.
If the intended fishing trip involves a coastal bar, use the bar-crossing guide and current local guidance as a separate passage-planning task. A fishfinder purchase does not resolve whether a crossing is appropriate.
Continue building the system
These guides pick up where this one stops.
Head-to-head
Lowrance Eagle 9 vs Elite FS 9: standalone fishing or expansion?
Compare Eagle 9 and Elite FS 9 for a fishing boat, including controls, chart bundles, sonar packages and the cost of future live-sonar expansion.
Decision Compare the two options against your existing system and installation.Check first A basemap and expansion readiness are not complete charts and included hardware.Also needed Exact display and transducer bundle Read the guideRanked shortlist
Top 3 fishfinder picks for Australian trailer-boat setups
Rank three fishfinder approaches for a trailer boat, comparing expansion, simplicity and motor integration with exact chart and transducer checks.
Best for A genuine future sonar expansion planCheck first Order changes with retained equipment; no comparative sea trial or installed-price test.Also needed Complete regional package and a comparable installation quote Read the guideProduct guide
Lowrance Elite FS 9: product guide and expansion costs
Plan an Elite FS 9 installation around the right transducer, Australian charts and realistic expansion costs rather than a display-only price.
Best for A fishing helm with a real expansion planCheck first Live-sonar hardware and detailed Australian charts may be extraAlso needed Exact transducer, chart region, mounts and any required module Read the guideProjects & Installation
Sensor siting and installation
Sensor position directly determines sensor performance. A convenient location is very often a poor location, and no display can fix it afterwards.
Read the guide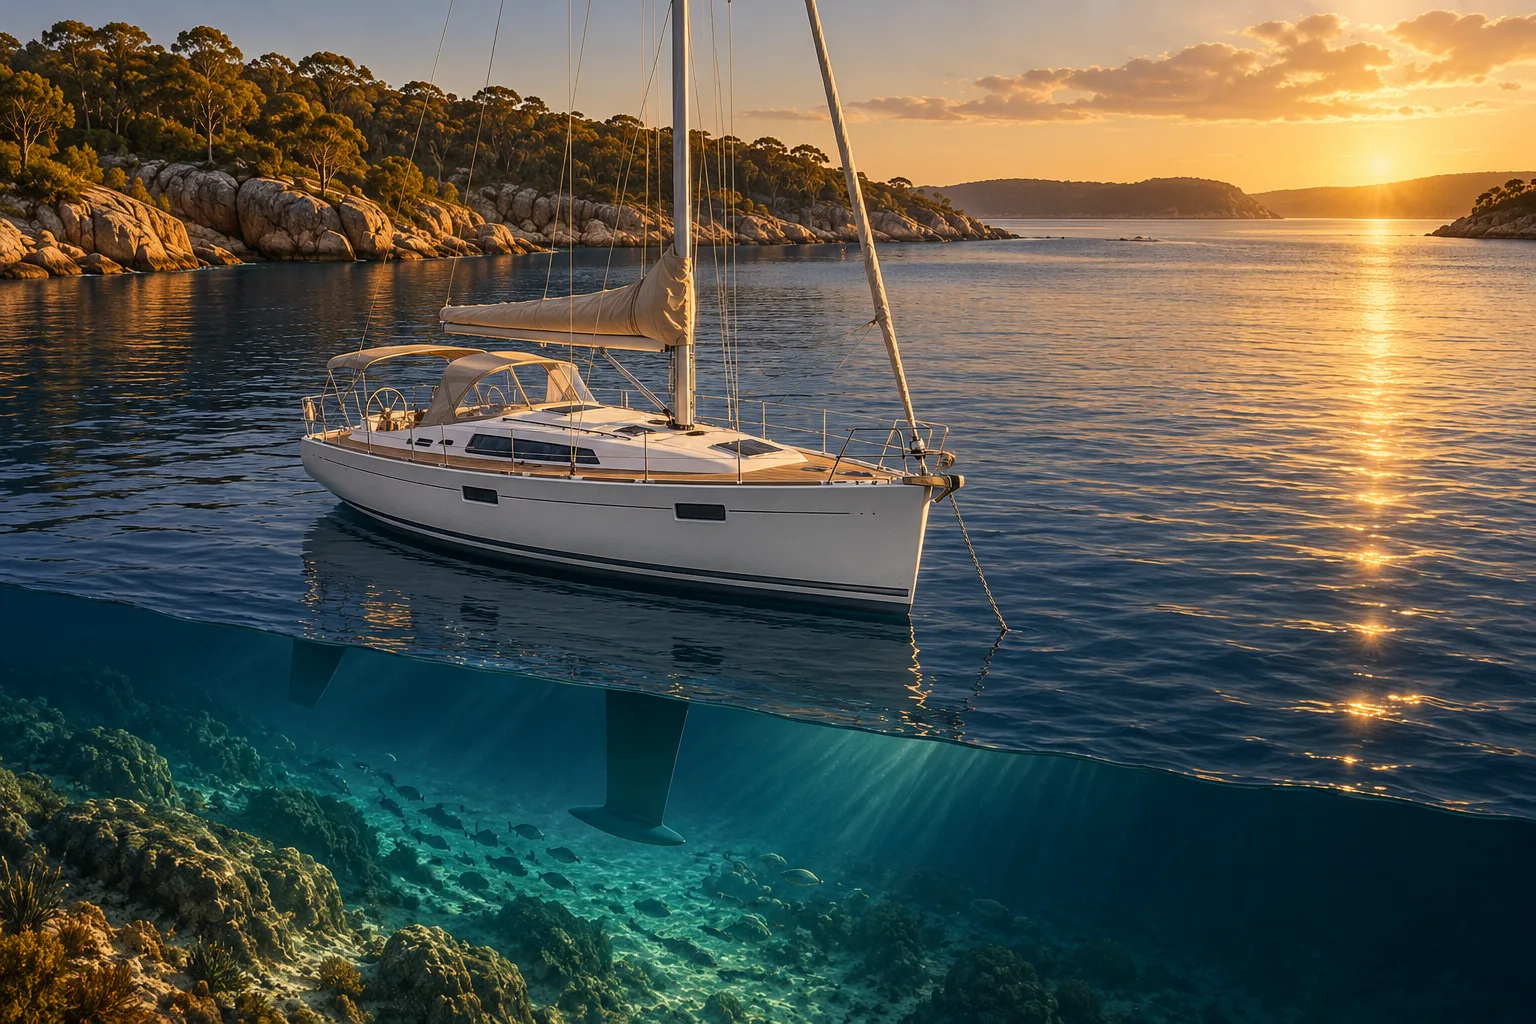 AI illustration
Worked example
Worked example: replacing depth instruments on a 10 m sailing yacht
Follow a hypothetical depth-instrument refit from diagnosis to equipment choice, depth-reference arithmetic and a recorded acceptance check.
Best for A 10 m sailing-yacht depth refitCheck first Unidentified sensors prevent a compatibility decisionAlso needed Diagnose first, then quote the supported complete installation Read the guide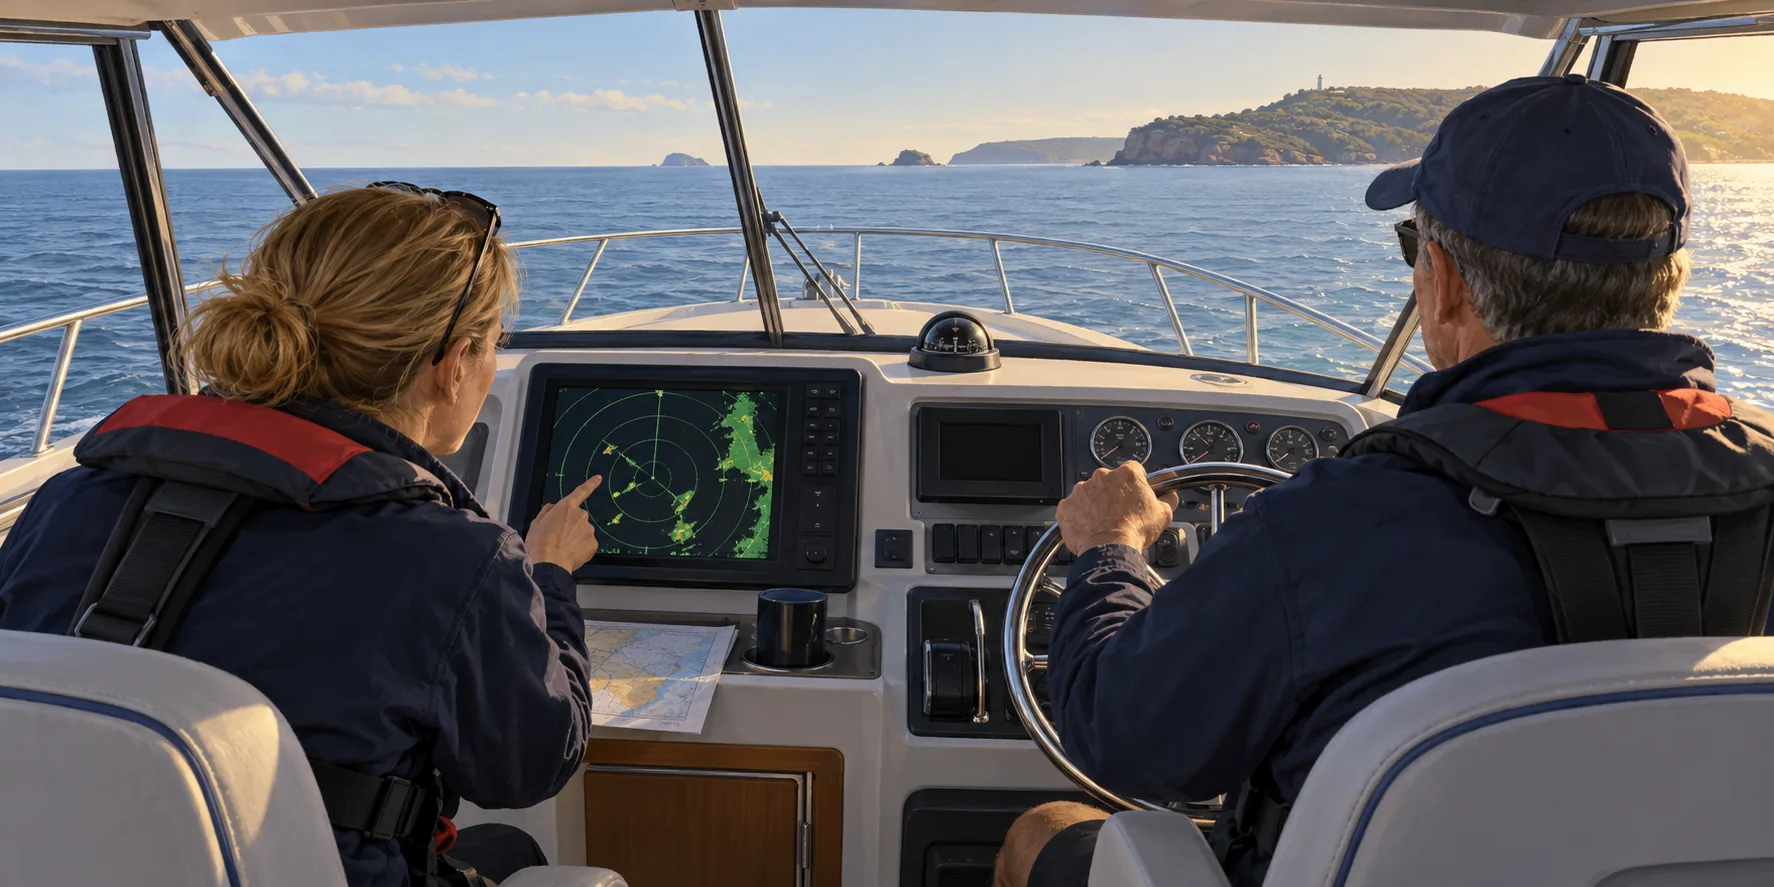 AI illustration
Worked example
Radar in action: a clear-weather training scenario
A structured, hypothetical radar practice session for a newly installed system, connecting product choice with observation, settings and useful records.
Best for A supervised clear-weather radar sessionCheck first An illustrative exercise is not a collision-manoeuvre planAlso needed Accepted installation, suitable conditions and competent supervision Read the guideReferenced by
Other guides that depend on the ideas on this page.
- Tides, currents and chart datum6 min
- Lowrance Elite FS 9: product guide and expansion costs4 min
- Lowrance Eagle 9 vs Elite FS 9: standalone fishing or expansion?4 min
- Garmin vs Simrad: compare complete powerboat systems3 min
- Choose navigation gear by vessel, passage and budget3 min
- Top 3 fishfinder picks for Australian trailer-boat setups2 min
This guide is independent editorial information, not a substitute for official regulation. Equipment requirements, licensing and chart currency differ by jurisdiction and change over time — confirm the current position with the AMSA, the Australian Hydrographic Office, ACMA and your state or territory maritime authority before relying on it.